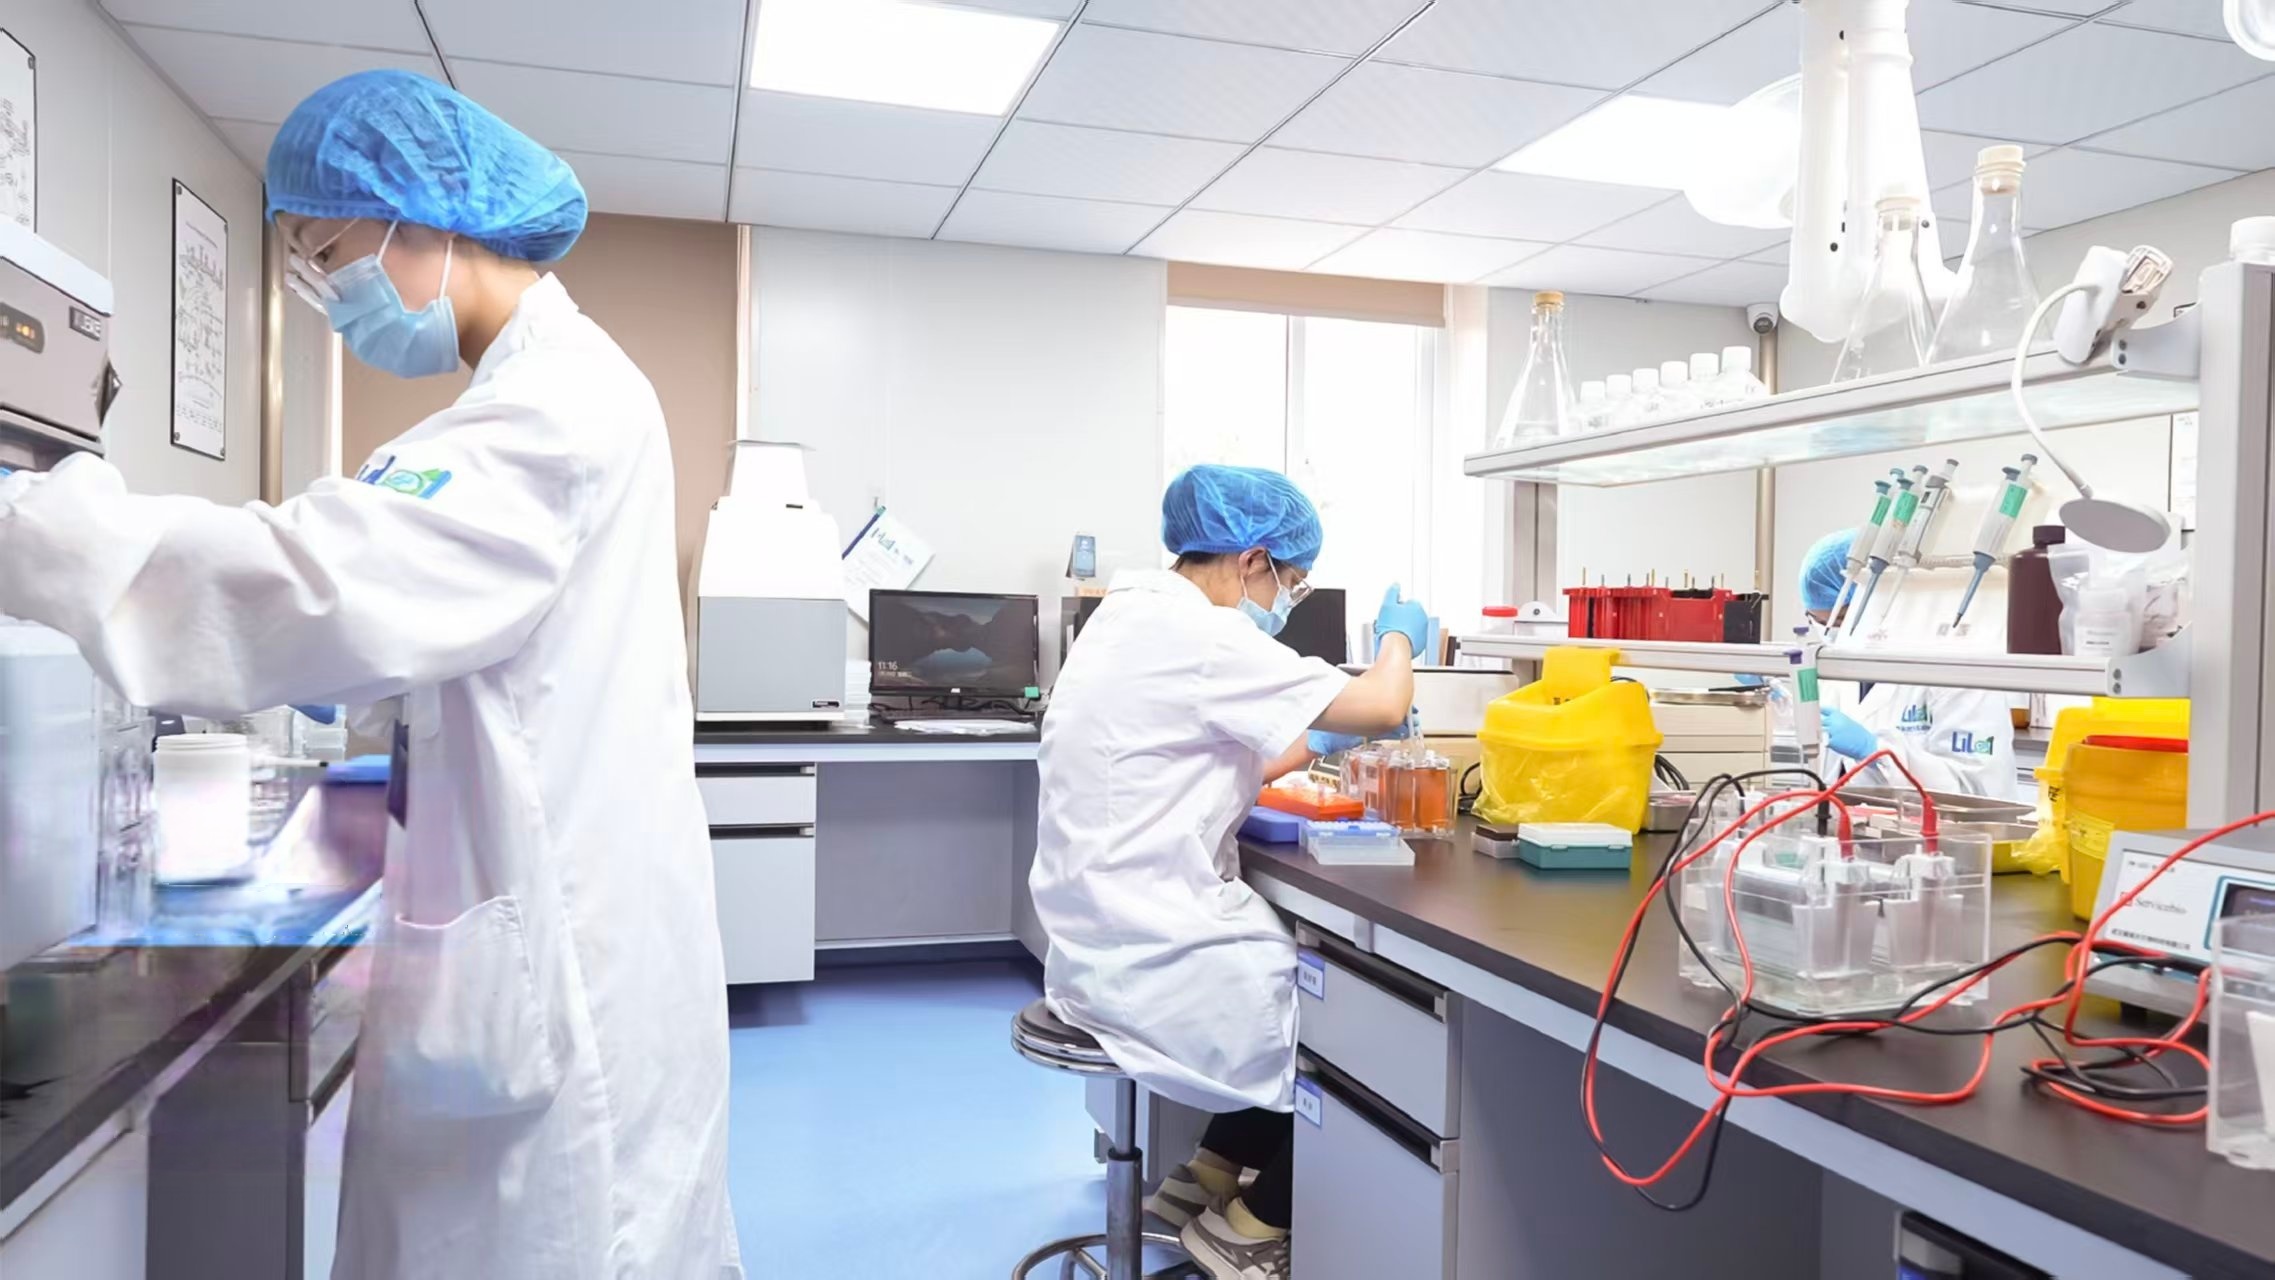
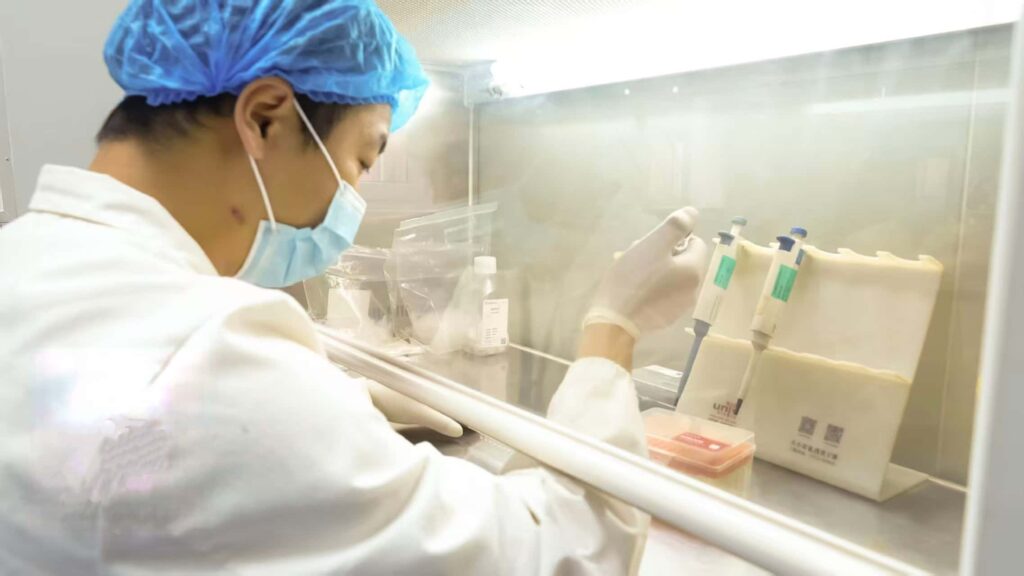
In enzyme-linked immunosorbent assay (ELISA) experimentation, researchers often focus heavily on incubation times, antibody selection, and sample preparation. However, one of the most critical—yet frequently overlooked—steps is the washing procedure.
Proper washing removes unbound antibodies and reagents that would otherwise contribute to background noise, reducing the signal-to-noise ratio and compromising data quality. Inadequate washing leads to high background, well-to-well variation, and poor reproducibility.
This guide explores the key parameters that influence washing effectiveness—supported by data and practical recommendations—to help you achieve consistent, publication-quality ELISA results.
Why Washing Matters: The Data Behind Clean Plates
Each washing step serves a single purpose: remove unbound materials while retaining specifically bound antigens or antibodies. Consider this:
- A typical ELISA protocol includes 3–5 washing cycles after each incubation step.
- In a sandwich ELISA with two antibody incubations, that’s 6–10 total wash cycles.
- Each well undergoes approximately 1.5–2.5 mL of total wash buffer exposure over the course of the assay.
If washing is insufficient, residual unbound antibody can increase background absorbance by 0.1–0.3 OD units or more—enough to mask weak positive signals or skew quantification .
Conversely, overly aggressive washing can strip bound complexes, reducing specific signal by 15–30% and pushing positive samples below the detection limit .
Key Factor 1: Wash Volume
The volume of wash buffer delivered to each well directly impacts washing efficiency.
How Much Is Enough?
Most ELISA kits specify a coating volume (typically 100–200 µL/well for 96‑well plates). For effective washing:
- Use a wash volume that exceeds the coating volume. A common recommendation is 300 µL/well for each wash cycle.
- If you experience high background, increase the wash volume to 400 µL/well (the maximum capacity of a standard 96‑well plate without overflow is approximately 460 µL).
Data Point: A study comparing wash volumes found that increasing wash volume from 200 µL to 400 µL reduced non‑specific binding by 37% without affecting specific signal .
The “Overfill” Technique
Automated plate washers can be programmed to deliver volumes exceeding well capacity by simultaneously aspirating while dispensing. This “flow‑through” washing:
- Delivers 500–1000 µL of buffer per cycle
- Flushes wells continuously without overflow
- Reduces background by an additional 20–25% compared to standard filling
Key Factor 2: Wash Cycles (Number of Washes)
The number of wash cycles is equally important. Each cycle consists of: fill → soak (optional) → aspirate.
Finding the Sweet Spot
- Minimum: 3 cycles after each incubation
- Optimal: 4–5 cycles for high-sensitivity assays or when background is problematic
- Too many: Exceeding 6–7 cycles can reduce specific signal by 10–15% due to antigen‑antibody complex dissociation
Experimental Evidence: In a comparative study, plates washed 3 times showed background OD of 0.08, while those washed 5 times dropped to 0.04—a 50% reduction in background. However, washing 7 times decreased positive control signal by 12% without further background improvement .
Practical Recommendation
Start with 4 washes after each incubation. If background remains high, increase to 5 washes. If signal strength is weak, verify sample concentration before reducing wash cycles.
Key Factor 3: Aspiration Efficiency
How you remove wash buffer is as important as how you add it. Inefficient aspiration leaves residual liquid containing unbound antibodies that will increase background.
Aspiration Height
The position of the aspiration needle significantly affects residual volume:
| Aspiration Needle Position | Residual Volume (µL) | Background OD (450 nm) |
|---|---|---|
| 1 mm above bottom | 2–5 µL | 0.03–0.05 |
| 3 mm above bottom | 10–15 µL | 0.08–0.12 |
| 5 mm above bottom | 20–30 µL | 0.15–0.25 |
Data represent typical values for 96‑well plates with 300 µL wash volume.
Key Insight: Maintaining a consistent aspiration height of 1–2 mm above the well bottom minimizes residual volume and reduces well‑to‑well variation.
Aspiration Position
The optimal aspiration point is not the center of the well—despite being the default for many washers.
- Center aspiration often leaves liquid at the edges due to surface tension.
- Offset aspiration (slightly off‑center toward the wall) removes liquid more completely.
Data Point: Moving the aspiration point from center to 2 mm off‑center reduced residual volume from 8 µL to 3 µL in a 96‑well plate test—a 62.5% improvement .
Best Practices for Manual Washing
If using a multichannel pipette or wash bottle:
- Use generous volume: Fill wells to the brim (300–350 µL) without overflowing between wells.
- Soak time: Allow buffer to sit for 30–60 seconds per cycle to facilitate dissociation of weakly bound materials.
- Firm tapping: After aspiration, tap the plate firmly on absorbent paper to remove every last drop.
- Consistency: Maintain the same technique across all plates and experiments.
Common Washing Mistakes and How to Avoid Them
| Problem | Likely Cause | Solution |
|---|---|---|
| High background across all wells | Insufficient wash volume or cycles | Increase to 400 µL/well and 5 cycles |
| Patchy background (edge wells) | Aspiration height too high | Lower aspiration needle to 1–2 mm |
| Well-to-well variation | Inconsistent aspiration position | Calibrate washer; use offset position |
| Weak signal | Excessive washing | Reduce cycles to 3–4; check sample integrity |
| Carryover contamination | Insufficient priming or clogged needles | Prime washer before use; clean needles regularly |
Yanda Bio: Supporting Your ELISA Success
At Yanda Bio, we understand that every step of the ELISA workflow matters. That’s why our kits are designed for robust performance even with standard washing protocols—and our technical team is always available to help you optimize your assays.
Our commitment to quality includes:
- Clear, detailed protocols with washing recommendations
- Pre-optimized reagents that tolerate minor protocol variations
- Responsive technical support for troubleshooting
Explore our ELISA kit portfolio:
- 6,000+ targets across immunology, oncology, neuroscience, and more
- Sensitivities as low as 60 pg/mL (customizable upon request)
- Affordable pricing: Standard kits from just $120
- Free ELISA testing service with kit purchase
- Rapid delivery: Same-day dispatch for orders before 3:30 PM
Summary: Key Takeaways for Optimal Washing
Troubleshoot systematically: If results are poor, verify wash parameters before suspecting kit performance.
Use sufficient volume: 300–400 µL/well, exceeding the coating volume.
Wash adequately: 4–5 cycles after each incubation for optimal signal-to-noise.
Optimize aspiration: Maintain low aspiration height (1–2 mm) and off-center positioning.
Be consistent: Standardize your washing protocol across all experiments.